Getting a new phone? Don’t forget your data! Discover how to easily transfer your eSIM between Android and iPhone.
Just got yourself a shiny new phone? 🎉 The good news is you don’t have to give up your current eSIM! As long as your new device supports eSIM technology, you can easily transfer it between iPhone and Android.
In this guide, we’ll walk you through everything you need to know—from the basics before you get started, to the actual transfer process, and even how to troubleshoot if something goes wrong.
Virtual SIM cards aren’t just the future—they’re the present. With this step-by-step guide, switching phones while keeping your eSIM will be smooth, simple, and stress-free. 🚀
🌍 How to Transfer Your eSIM Between iPhone and Android
Switching phones is exciting—but what about your eSIM? The good news is that with the right steps, you can move it from one device to another. Here’s a simple guide to check compatibility, prepare for transfer, and troubleshoot along the way.
✅ Can I Transfer My eSIM Between iPhone and Android?
Before you start, make sure your new phone supports eSIM technology.
For iPhone
- Go to Settings > General > About
- Look for the “eSIM” option.
👉 If it’s listed, your iPhone supports eSIM.
For Android
- Go to Settings > Network & internet > Mobile network
- Look for the “Add mobile plan” option.
👉 If it appears, your phone supports eSIM.
⚡ Note: Android menus vary by brand, but the steps should be very similar.
Don’t forget: Even if your phone supports eSIM, your carrier must also allow eSIM transfers. Some providers require you to request activation or do it in-store. When in doubt, contact customer service.
🛠️ What You’ll Need Before Transferring
Here’s a quick checklist to avoid headaches later:
- 📱 Both phones must support eSIM.
- 📡 Your carrier must support eSIM transfers.
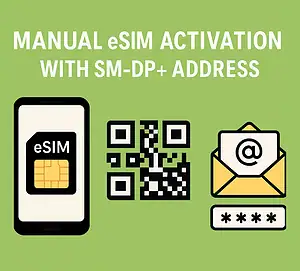
- 🔑 You may need a QR code or transfer code from your carrier.
- 🌐 Wi-Fi on both phones.
📲 How to Transfer an eSIM From iPhone to Android
Since there’s no one-click “move eSIM” option, you’ll need to delete it from the old phone and reinstall it on the new one:
- On your iPhone: Settings > Cellular > Cellular Plans, then remove your eSIM profile.
- Request a QR code/transfer code from your carrier (online, via app, or customer service).
- On your Android: Settings > Network & internet > Mobile network > Advanced > Add eSIM > Scan QR code.
- Follow the instructions to activate your eSIM.
📲 How to Transfer an eSIM From Android to iPhone
- On your Android: Settings > Network & internet > Mobile network > Advanced > eSIM, then delete/deactivate your profile.
- Ask your carrier for a QR code or transfer code.
- On your iPhone: Settings > Cellular > Add Cellular Plan, then scan or enter the code.
- Follow the on-screen prompts to activate your eSIM.
⚡ Troubleshooting Common Issues
- Can’t scan QR code? Make sure the code is clear and your camera lens is clean. Try another scanning app if needed.
- Error during activation? Double-check the code, restart both phones, then try again.
- No calls or texts after transfer? Make sure your new eSIM is set as the primary SIM for calls and SMS in settings.
If problems continue, your carrier can reset or reissue your eSIM.
💡 Extra Tips About eSIMs
- Lost your eSIM? Your carrier can provide a replacement.
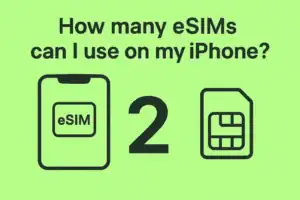
- You can store multiple eSIM profiles, though only one is active at a time.
- eSIM adoption is growing fast—making transfers easier every year.
- Perfect for travel: buy data plans abroad without ever swapping physical SIM cards.
✨ With these steps, transferring your eSIM between iPhone and Android is smooth and stress-free. Whether it’s your everyday number or a travel plan, you’ll stay connected with ease.