 WhatsApp +44 7367 063273
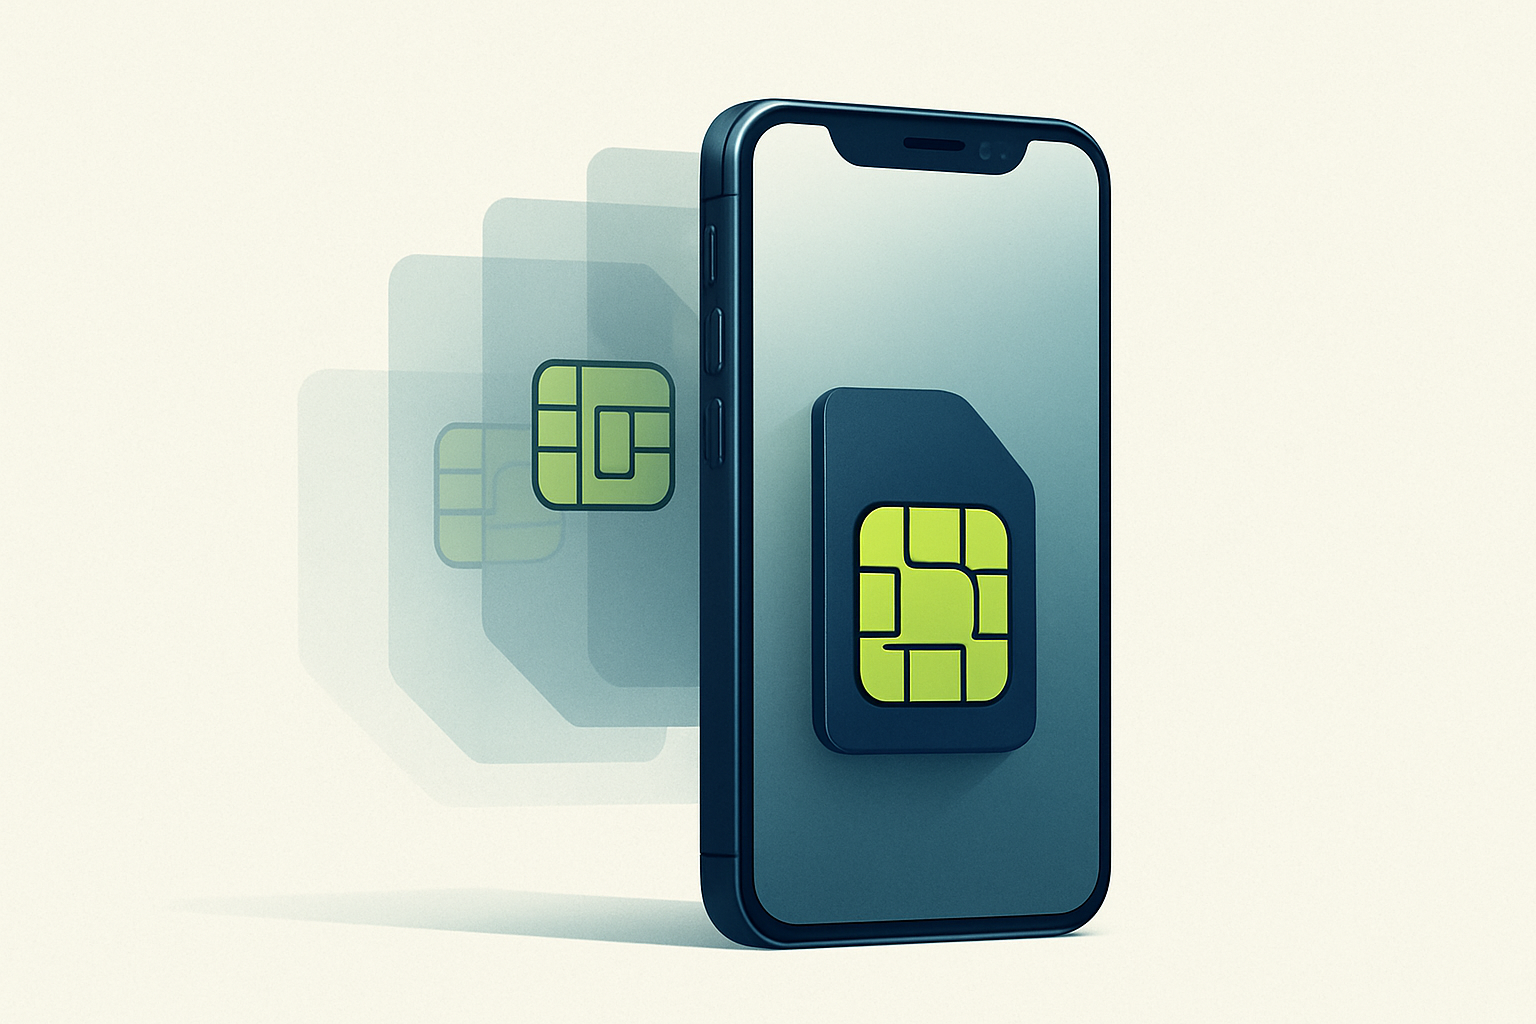
Modern iPhones can store eight or more eSIM profiles at once, but you can only use two lines simultaneously — either two eSIMs together (dual eSIM) or one eSIM alongside a physical SIM card. Every iPhone from the XS onward supports this storage-versus-active distinction, though the US iPhone 14 and newer models are eSIM-only with no physical SIM tray at all.
How many eSIMs can an iPhone have at once?
Your iPhone holds at least eight eSIM profiles in storage, and Apple's engineering allows for more depending on device memory and iOS version. This means you can install a home carrier eSIM, two or three travel data eSIMs for different regions, and a work line — all sitting dormant until you decide to activate them. The catch: only two lines can be active at any given moment, regardless of how many you've installed.
This two-line limit applies whether you're running two eSIMs together or combining one eSIM with a physical nano-SIM (on models that still have a SIM tray). The system is designed around dual SIM: one line for calls and texts, another for data, or both lines sharing equal footing. When you want to use a third stored eSIM — say, you land in a new country — you simply turn off one of the active lines and enable the new profile in Settings → Cellular.
The storage architecture means you're not constantly re-downloading QR codes or SM-DP+ activation details. Once an eSIM profile is installed, it lives in your iPhone's secure element until you explicitly delete it. Switching between stored profiles takes seconds, which makes managing multiple travel eSIM plans far simpler than swapping physical cards.
Which iPhone models support eSIM?
Every iPhone from the iPhone XS, XS Max, and XR (released in 2018) onward supports eSIM technology. That includes the iPhone 11, 12, 13, 14, 15, and 16 series, plus the second- and third-generation iPhone SE models. All of these devices can store eight or more eSIM profiles and run two lines at once.
The major shift arrived with the US iPhone 14 in late 2022: American models dropped the physical nano-SIM tray entirely, making them eSIM-only. This design carried forward to the iPhone 15 and iPhone 16 series sold in the United States. If you bought your iPhone 14, 15, or 16 in the US, you have no physical SIM slot — both active lines must be eSIMs. International versions of these same models still include the nano-SIM tray alongside eSIM support, so a UK or Australian iPhone 15 can run one physical SIM and one eSIM, or two eSIMs.
It's worth confirming your model's origin if you bought secondhand or travel frequently. The eSIM-only restriction on US devices occasionally catches travellers off guard in countries where physical SIM cards remain the norm, though most major carriers worldwide now offer eSIM activation. You can always check device eSIM compatibility for your exact model and region.
What about iPads?
Only Wi-Fi + Cellular iPad models support eSIM — the Wi-Fi-only versions have no cellular hardware at all. iPad Pro, iPad Air, and iPad (standard) models with cellular capability can store multiple eSIM profiles, but you can only use one cellular line at a time on an iPad. There's no dual SIM for tablets; the second line slot is exclusive to iPhones.
Dual eSIM: using two eSIMs without a physical SIM
Dual eSIM means both active lines are eSIM profiles, with no physical card in the tray. This works on every eSIM-capable iPhone (XS and later), regardless of whether the device has a physical slot. You might run your home carrier as an eSIM and add a travel data eSIM for a trip to Japan, keeping both active so you receive calls on your home number while browsing on the local data plan.
To set this up, install the first eSIM (usually your primary carrier) via QR code or manual SM-DP+ entry in Settings → Cellular → Add eSIM. Once that profile is active, repeat the process for the second eSIM. iOS will prompt you to label each line — "Primary," "Travel," "Work" — and assign roles: which line handles cellular data by default, which line is for iMessage and FaceTime, and whether you want a secondary line for calls only. You can change these assignments anytime without reinstalling the eSIMs.
US iPhone 14, 15, and 16 owners have no choice but dual eSIM if they want two lines, since there's no physical tray. For everyone else, it's a question of convenience: dual eSIM eliminates the physical card (useful if you swap plans often), but combining one eSIM with a physical SIM works just as well for the two-line limit.
Can you have three eSIMs active at once?
No. iPhones enforce a strict two-line maximum, and this applies to any combination of eSIM and physical SIM. You cannot run three eSIMs simultaneously, nor can you run two eSIMs plus a physical SIM as three active lines. The dual SIM architecture — one primary, one secondary — is baked into the modem and iOS.
If you have three eSIMs installed (perfectly normal: home, work, travel), you must choose which two to enable at any moment. Switching takes about ten seconds: go to Settings → Cellular, tap the line you want to activate, toggle "Turn On This Line," then turn off one of the other active lines if needed. The third eSIM remains stored and ready; you're just rotating which two are live.
This design makes sense for most use cases: you're rarely in two countries at once, so one travel eSIM active alongside your home line covers the common scenario. Power users who juggle multiple work numbers or regional data plans simply get comfortable with the toggle dance.
How to add and manage eSIMs on iPhone
Adding an eSIM starts with your carrier or travel eSIM provider giving you either a QR code or manual activation details (SM-DP+ address and confirmation code). For travel eSIMs, you'll typically buy a plan through a provider's app or website, then receive the QR code by email or in-app. Install before you fly — you need Wi-Fi or your existing cellular connection to download the eSIM profile, and airport Wi-Fi is often flaky.
- Open Settings → Cellular (or Mobile Data) and tap Add eSIM.
- Scan the QR code with your camera, or tap Enter Details Manually and type the SM-DP+ address and activation code your provider sent.
- Wait a few seconds while iOS contacts the carrier's server and installs the profile.
- Label the new line (e.g., "Japan Data" or "Work") and assign its role: primary data line, calls only, or secondary.
Once installed, the eSIM appears in Settings → Cellular as a separate line. You can turn it on or off, change its label, reassign which line provides data, or delete it entirely — all without affecting your other stored eSIMs. When you're done with a travel plan, you can leave the eSIM installed (it takes negligible space) or remove it by tapping the line and choosing "Delete eSIM."
Switching between stored eSIMs
You don't delete and reinstall eSIMs every time you travel. If you've used an Esima travel eSIM in Thailand and later visit Vietnam, the Thai eSIM stays in storage while you activate a new Vietnamese profile. When you return to Thailand months later, flip the Thai eSIM back on — the profile is still there, and if it's a regional or top-up plan, any remaining data comes with it.
To switch: Settings → Cellular → tap the dormant eSIM → toggle "Turn On This Line." If you already have two lines active, iOS will ask which one to turn off. The whole process takes less than fifteen seconds, no QR codes required.
Using travel eSIMs alongside your home carrier
Travel eSIMs are almost always data-only: you get mobile internet (4G/5G), but no local phone number for voice calls or SMS. This makes them perfect as a secondary line while your home carrier remains the primary. Your home number stays reachable for calls and texts, and your banking app still sends two-factor codes, but all your browsing, maps, and app traffic flows over the travel eSIM's local data — no surprise roaming charges.
Install the travel eSIM a day or two before departure (you need internet to activate it), but don't turn it on until you land. Most travel eSIM plans start their validity period the moment the profile first connects to a network, so enabling it at home wastes days. Once you're on the ground abroad, go to Settings → Cellular, turn on the travel line, set it as your data default, and leave your home line enabled for calls.
This dual-line setup means you're never truly offline and never hunting for airport SIM card kiosks. The travel eSIM handles data; your home line handles everything else. When you're back home, simply turn off the travel eSIM or leave it dormant until your next trip.
eSIM-only iPhones: what it means for travel
If you own a US iPhone 14, 15, or 16, you cannot use a physical SIM card anywhere — the hardware slot doesn't exist. This matters most when you travel to regions where eSIM adoption lags or when you prefer buying a local prepaid SIM at the airport. You're restricted to carriers and travel eSIM providers that support eSIM activation, which now includes most major operators worldwide but not all small regional carriers.
The upside: you can install two travel eSIMs if you're visiting multiple countries on one trip, swapping between them without touching a SIM ejector tool. You also avoid the common frustration of losing a tiny physical SIM card or carrying a pile of them in your wallet. The downside: if a carrier in rural Indonesia only offers physical SIMs, your US iPhone won't connect, whereas an international model could pop in the physical card.
Before you travel, confirm your destination has eSIM coverage through a reliable provider or that your home carrier offers international eSIM roaming. For most popular destinations — Europe, Asia-Pacific, the Americas — this is a non-issue. For off-the-beaten-path locales, double-check.
Common mistakes and how to avoid them
The most frequent error is trying to run three lines at once. iOS won't let you, and the error message ("Only two lines can be active") confuses people who assume "storage" equals "active use." Remember: eight stored eSIMs, two active at any time.
Another gotcha: activating a travel eSIM too early. If your plan offers seven days of data starting from first connection, turning it on at home burns a day or two before you even board the plane. Wait until you land, then enable it in the airport while still on Wi-Fi or using your home carrier's roaming.
People also worry that adding a new eSIM will delete an old one. It won't — unless you explicitly choose "Delete eSIM" or you've somehow hit an internal device limit (which would require far more than eight profiles). Switching and adding are separate actions; your stored eSIMs remain until you remove them.
Frequently asked questions
Do eSIMs drain battery faster?
Can I add a third eSIM to my iPhone?
Does Lyca have an eSIM?
Is the LG V60 ThinQ eSIM compatible?
Can you have two eSIMs and one physical SIM on iPhone?
How many eSIMs can an iPhone 13 store?
How do I know if my eSIM is active or just stored?
What happens to my eSIMs when I upgrade to a new iPhone?
Ready to get connected?
Browse instant eSIM plans for 190+ destinations — installed before you land.

Written by
Samir Ch
I road-test travel eSIMs across the destinations we cover, so the advice here is field-checked — not copied off a spec sheet.
Continue reading
How to Transfer an eSIM Between iPhone and Android
Learn how to transfer eSIM to new phone across iPhone and Android. Covers eSIM Quick Transfer, carrier re-activation, and what to do when the old phone isn
How Much Data You'll Need for a Europe Trip: A Practical Guide
How much data do i need for europe: Planning a Europe trip? Learn realistic data estimates by activity and trip length, plus why a travel eSIM beats
What Is an SM-DP+ Address? Manual eSIM Installation Guide
Learn what an SM-DP+ address is, when you need it for manual eSIM setup, and the exact steps to enter eSIM activation codes on iPhone and Android devices.
How to Set Up and Activate Your eSIM: Step-by-Step Guide
Learn how to set up an eSIM on iPhone and Android with step-by-step QR scan and manual activation instructions, plus what to do before you fly.