 WhatsApp +44 7367 063273
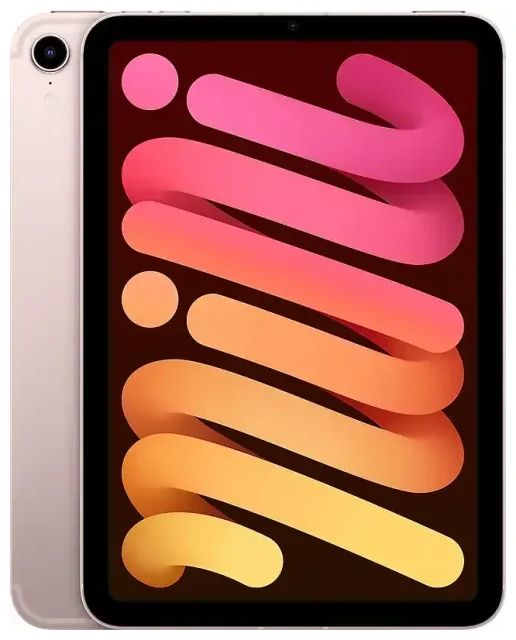
Does the Apple iPad Mini (6th Generation) support eSIM?
Yes, the Apple iPad Mini (6th Generation) supports eSIM, but only on Wi-Fi+Cellular models. The Wi-Fi-only version of the iPad Mini (6th generation) does not have any cellular capability and cannot use an eSIM or physical SIM card.
Apple iPad Mini (6th Generation) eSIM compatibility
Released in September 2021, the Apple iPad Mini (6th Generation) carries model number A2567 (Wi-Fi+Cellular, US), A2568 (Wi-Fi+Cellular, international), or A2569 (Wi-Fi+Cellular, China mainland). All Wi-Fi+Cellular variants support eSIM technology alongside a nano-SIM slot. The Wi-Fi-only model (A2567) does not support cellular connectivity of any kind.
eSIM vs physical SIM on iPad mini
Your iPad mini supports dual-SIM functionality: you can use a physical nano-SIM card in the tray on the right side of the device, plus one eSIM profile at the same time. This lets you have two cellular plans active simultaneously—ideal if you want to keep a local data plan while travelling or maintain separate personal and work lines. You can store multiple eSIM profiles on the device, but only one eSIM and one physical SIM can be active at once.
How to set up an eSIM on the Apple iPad Mini (6th Generation)
Setting up an eSIM on your iPad mini takes about 60 seconds once you have your QR code from your carrier or eSIM provider. Make sure you're connected to Wi-Fi before you begin.
Set up an eSIM in Settings
- Open Settings on your Apple iPad Mini (6th Generation).
- Tap Cellular Data (or Mobile Data in some regions).
- Tap Add a New Plan or Add Cellular Plan.
- Use your iPad's camera to scan the QR code provided by your carrier or eSIM provider. Alternatively, if you have a confirmation code, tap Enter Details Manually and input the activation details.
- Wait for the eSIM to activate—this usually takes 10–60 seconds. Your iPad will confirm when the plan is ready.
- Label the line with a name you'll recognize, like "Travel Data" or "Work Plan," so you can identify it easily if you're using multiple profiles.
- Choose which line you want to use for cellular data in Settings > Cellular Data.
Install your eSIM profile before departure
You can install an eSIM profile while you're still at home, even if you don't activate it right away. Most travel eSIM plans activate when you connect to a network in your destination country, so installing it ahead of time means you'll have data as soon as you land.
Using a travel eSIM on the Apple iPad Mini (6th Generation)
A travel eSIM is the easiest way to get affordable data abroad on your iPad mini without paying roaming fees or hunting for a local SIM card when you arrive. You buy and install the plan before you fly, then the eSIM activates automatically when you reach your destination.
Why use an eSIM for iPad when travelling
Travel eSIMs give you instant connectivity for maps, email, video calls, and work apps without a surprise bill from your home carrier. You keep your physical SIM in place for calls and text messages (if you have a phone number on that line), and the eSIM handles all your data. Install the profile at home over Wi-Fi, and you're ready to go the moment you land. You can browse eSIM plans for over 200 countries and regions, with options for single-country and multi-country coverage.
Because the iPad Mini (6th Generation) has both a nano-SIM slot and eSIM capability, you have complete flexibility: use the eSIM for travel data and keep the physical slot free, or vice versa.
Tips & troubleshooting
Turn on data roaming for your eSIM line
Even though you're using an eSIM designed for the country you're visiting, your iPad still considers it "roaming." Go to Settings > Cellular Data, tap your eSIM line, and toggle Data Roaming on. Without this setting enabled, your eSIM won't connect to local networks and you won't get data.
Keep your home SIM active for calls and two-factor authentication
If you have a phone number on your physical SIM, leave that line enabled so you can receive SMS verification codes and calls. Set your eSIM as the default for cellular data, and your physical SIM will handle voice and text. You can manage which line does what in Settings > Cellular Data.
Fix an eSIM that won't activate
If your QR code won't scan, check that your camera lens is clean and the lighting is good. You can also tap Enter Details Manually and type in the SM-DP+ address and activation code from your eSIM provider. If the eSIM installs but won't connect, confirm that data roaming is on for that line, restart your iPad, and check that the plan has started (some eSIMs activate on first use, not at installation). If you still have trouble, you can find more eSIM setup help or contact your eSIM provider directly.
Check eSIM compatibility for other devices
If you're planning to share an eSIM across multiple devices or want to confirm compatibility for a phone or another tablet, you can check another device's eSIM compatibility before you buy a plan. Not all iPads support eSIM—older models and Wi-Fi-only versions do not have the feature.


