 WhatsApp +44 7367 063273
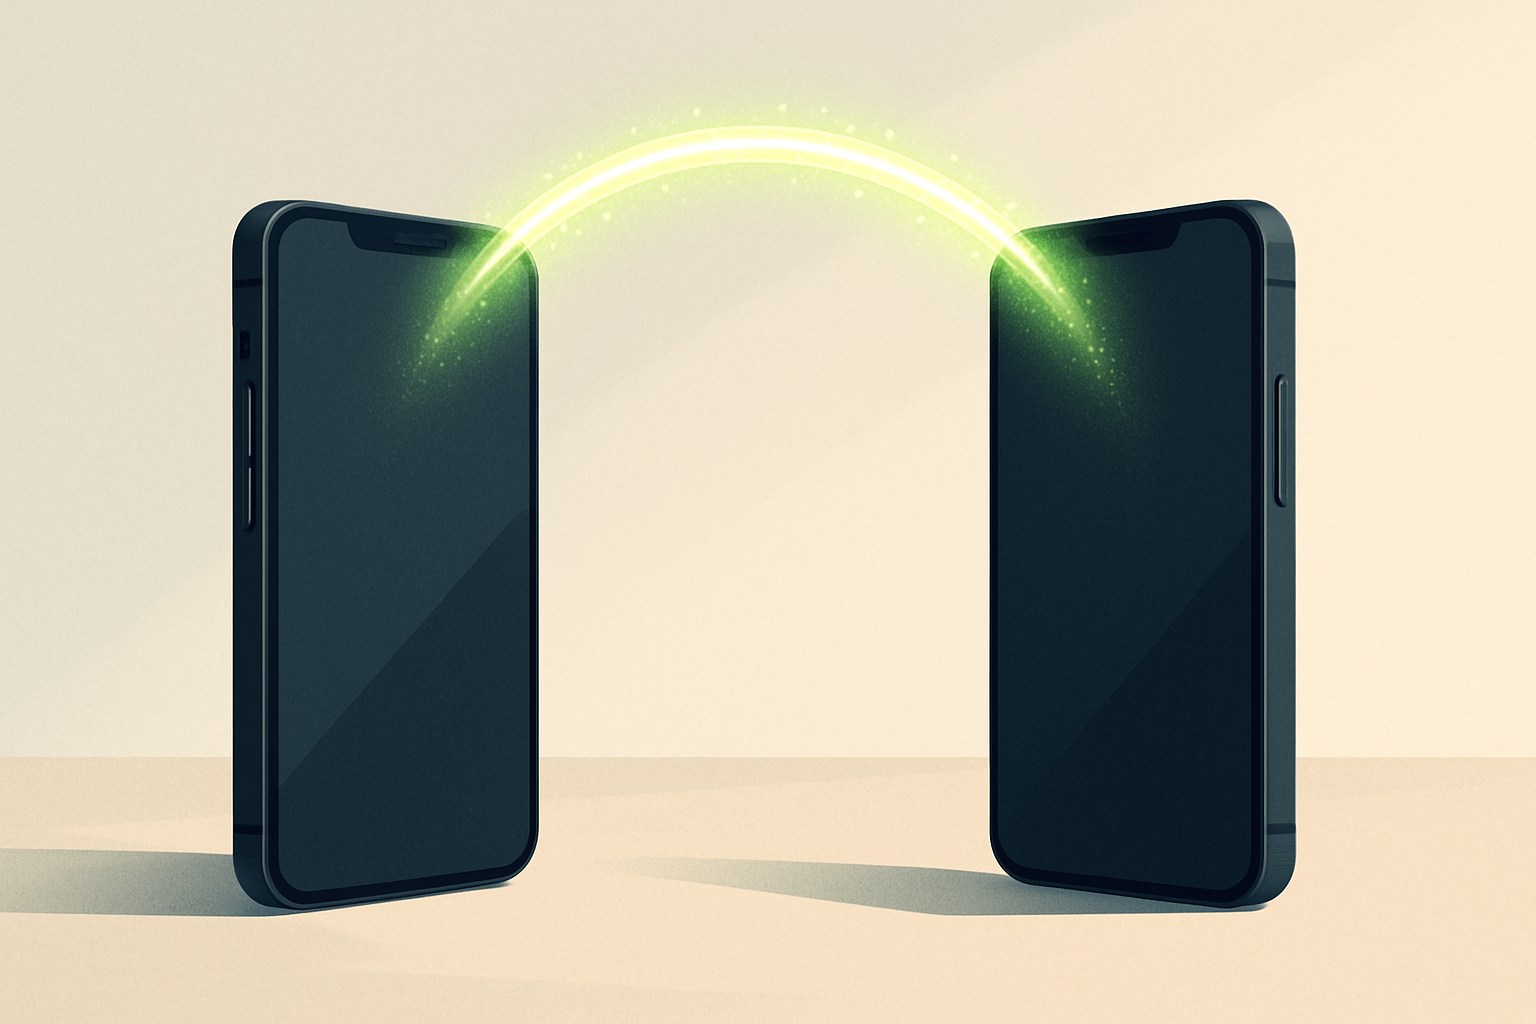
Transferring an eSIM to a new phone works differently depending on whether you're staying within the same platform or switching between iPhone and Android. iPhones running iOS 16 or later support Quick Transfer for moving eSIMs directly between devices, while Android and cross-platform transfers typically require you to contact your carrier or reinstall the eSIM profile using a new QR code or activation details.
Understanding eSIM transfer: what actually moves and what doesn't
An eSIM is a rewritable chip soldered into your phone that downloads a carrier profile (the subscription credentials) from a remote server called an SM-DP+. When you "transfer" an eSIM, you're not moving the chip—it's permanently embedded—but rather moving or re-downloading that profile. How this happens depends on your carrier's system and the device platforms involved.
iPhone's eSIM Quick Transfer, introduced in iOS 16, lets you move a profile directly from one iPhone to another over Bluetooth without contacting the carrier or scanning a new QR code. This works only for iPhone-to-iPhone transfers where both devices are signed into the same Apple ID, are nearby, and the carrier supports the feature. Most major U.S. carriers—including T-Mobile, AT&T, Verizon, Mint Mobile, Visible, and US Mobile—support Quick Transfer for postpaid and many prepaid plans.
Android devices and any cross-platform transfer (iPhone to Android or vice versa) work differently. Google Pixel phones running Android 13 or later offer a similar transfer tool during initial setup, but it's carrier-dependent and less widely adopted. In most cases, you'll contact your carrier (through their app, website, or customer service) to deactivate the eSIM on the old device and receive a new QR code or manual activation details (SM-DP+ address and activation code) for the new one. This process effectively deletes the profile from the old phone and provisions a fresh copy on the new device.
How to transfer an eSIM from one iPhone to another
The fastest method for an iPhone-to-iPhone move is eSIM Quick Transfer, which works during the new phone's initial setup or afterward in Settings. Both iPhones must run iOS 16 or later, be signed into the same Apple ID, and have Bluetooth enabled. The process takes two to three minutes and doesn't require a QR code.
Using eSIM Quick Transfer during setup
- Turn on the new iPhone and follow the on-screen prompts until you reach the "Set Up Cellular" screen.
- If the new iPhone detects an eSIM on your nearby old iPhone, you'll see "Transfer from [Old iPhone Name]" with your phone number listed. Tap it.
- On the old iPhone, a prompt appears asking to transfer the cellular plan. Tap Transfer, then follow any carrier-specific authentication (some carriers send a verification code via SMS to the old phone).
- Wait for the transfer to complete—the new iPhone will show a checkmark and the line will appear under Settings > Cellular. The profile is removed from the old iPhone automatically.
Transferring an eSIM after setup is complete
- On the new iPhone, open Settings > Cellular > Add eSIM.
- Tap Transfer From Nearby iPhone. Make sure the old iPhone is unlocked, nearby, and connected to Wi-Fi or cellular data.
- Select the phone number you want to transfer from the list, then tap Continue on both devices.
- Enter the old iPhone's passcode if prompted, then confirm the transfer. The eSIM will activate on the new iPhone and disappear from the old one within a minute or two.
If Quick Transfer doesn't appear or fails, your carrier may not support it or the profile may be locked. In that case, contact your carrier (T-Mobile, Visible, Mint Mobile, or whichever network you use) through their app or website to request a new QR code. You'll scan that QR on the new iPhone by going to Settings > Cellular > Add eSIM > Use QR Code, then point the camera at the code. The old eSIM will deactivate once the new one activates.
How to transfer an eSIM to a new Android phone
Android eSIM transfer is less standardised than iPhone's Quick Transfer. Google Pixel devices running Android 13 or later offer an eSIM transfer tool during initial setup that can move a profile from another Pixel or, in some cases, from an iPhone. Samsung Galaxy phones (S21 series and newer, Z Fold/Flip 3 and later) support eSIM but typically require manual re-activation through the carrier rather than a built-in transfer feature.
Transferring an eSIM to a Google Pixel
- During the new Pixel's setup, connect to Wi-Fi and proceed to the "Copy apps & data" screen. Select your old phone (Pixel or iPhone) and choose A cable or wireless transfer.
- If the old device has an eSIM and your carrier supports Pixel transfer, you'll see an option to move the cellular plan. Tap Continue and follow the prompts on both phones.
- Authenticate with your carrier if required (some send a one-time code to the old phone). The eSIM profile will activate on the new Pixel and deactivate on the old device.
- If the transfer option doesn't appear, the carrier doesn't support it—proceed to the manual QR method below.
Transferring an eSIM to Samsung or other Android phones
Most Android manufacturers outside Google don't offer a native transfer tool, so you'll request a new eSIM QR code from your carrier. This process works for Samsung Galaxy devices, OnePlus, Motorola, and other eSIM-compatible Android phones.
- Log into your carrier's app or website (T-Mobile, AT&T, Airtel, or your provider) and navigate to the eSIM or device management section.
- Select your line and choose Replace eSIM or Get new QR code. The carrier will generate a fresh QR code and, in most cases, immediately deactivate the eSIM on the old phone.
- On the new Android phone, open Settings > Network & internet > SIMs > Add SIM (exact wording varies by manufacturer—Samsung uses "Connections > SIM card manager > Add mobile plan").
- Tap Download a SIM instead? or Add eSIM, then scan the QR code with the phone's camera. The profile will download and activate within 30 seconds to two minutes.
- Label the line (e.g., "T-Mobile Personal") and set it as your default for calls, texts, and mobile data if prompted.
Transferring an eSIM from iPhone to Android (or Android to iPhone)
Cross-platform eSIM transfers—moving from an iPhone to a Samsung Galaxy, Pixel, or other Android phone, or from Android to iPhone—are not supported by Quick Transfer or native tools. You'll always need to contact your carrier to deactivate the old eSIM and provision a new one for the target platform.
Steps for iPhone-to-Android eSIM transfer
- On the iPhone, go to Settings > Cellular, tap the line you want to transfer, and note the phone number and carrier name.
- Open your carrier's app or website (or call customer service) and request a new eSIM for the Android device. Explain that you're switching from iPhone to Android; the carrier will generate a QR code or provide SM-DP+ details.
- Once you receive the QR code, open your Android phone's settings (the exact path varies: on Samsung, it's Connections > SIM card manager > Add mobile plan; on Pixel, Network & internet > SIMs > Add SIM > Download a SIM instead?).
- Scan the QR code. The eSIM profile will download, and the carrier's network should activate within a minute or two. The iPhone eSIM will deactivate automatically once the Android profile is live.
- Test the connection by making a call or loading a webpage over mobile data, then remove or disable the old eSIM on the iPhone if it hasn't been removed already.
Steps for Android-to-iPhone eSIM transfer
- Log into your carrier's app or website on the Android phone and navigate to the eSIM or account management section. Select Replace eSIM or Transfer to new device.
- The carrier will generate a new QR code for the iPhone. Some carriers (T-Mobile, Visible, Mint Mobile) let you view the QR in the app; others email it or display it on a web portal.
- On the iPhone, go to Settings > Cellular > Add eSIM > Use QR Code and scan the code. The profile will install and activate within 30 seconds.
- Label the line and choose whether it's your default line for calls, texts, and data. The Android eSIM will deactivate once the iPhone eSIM is active.
For carriers like T-Mobile, Visible, Mint Mobile, or US Mobile, this process is straightforward through their apps. International carriers such as Airtel (India) or O2 (UK) follow similar steps but may require you to visit their website or contact support for the QR code.
What to do when you can't access the old phone
If the old phone is lost, stolen, broken, or already erased, you won't be able to use Quick Transfer or any transfer tool that requires both devices. In this case, contact your carrier directly and request a replacement eSIM for the new phone. You'll need to verify your identity (account PIN, billing address, or government ID) and provide the new device's IMEI and EID numbers.
To find the IMEI and EID on an iPhone, go to Settings > General > About and scroll to the Digital SIM section. On Android, dial *#06# and the IMEI and EID will appear on-screen. Give these numbers to the carrier; they'll provision a new eSIM profile and send you a QR code or activation link via email or SMS to an alternate number.
Carriers like Visible, Mint Mobile, and Tello let you request a replacement eSIM through their self-service portals without calling support. Traditional carriers (AT&T, Verizon, T-Mobile) typically require a call or chat session. The process takes five to fifteen minutes, and the new eSIM will deactivate the old one as soon as it's installed on the new phone.
How travel and data-only eSIMs work differently
If you're using a travel eSIM or data-only eSIM (from providers like Esim, Airalo, Holafly, or similar), the transfer process is different from a primary carrier eSIM. Travel eSIMs are designed to be reinstalled rather than transferred. When you get a new phone, you log into the provider's app or website, view your active or purchased eSIM, and download a fresh QR code or installation link for the new device.
Most travel eSIM providers let you install the same data plan on a new phone as long as the plan is still valid (hasn't expired or run out of data). The old installation becomes inactive once the new one connects to the network. Some providers limit the number of reinstalls or devices, so check the terms in your account dashboard before switching phones.
Install the travel eSIM before you fly so you can troubleshoot any issues while you still have Wi-Fi or your home carrier's data. Travel eSIMs are typically data-only—no local phone number for calls or SMS—so keep your primary SIM or eSIM active in a second slot for incoming calls and two-factor authentication codes. Most modern iPhones and many Android phones support dual SIM (one physical SIM plus one eSIM, or two eSIMs on newer iPhones), so you can run both lines at once and assign the travel eSIM to mobile data while the home line handles calls.
Device compatibility and eSIM limits
Not all phones and tablets support eSIM, and those that do have different storage and active-line limits. iPhones from the XS, XR, and SE (2nd generation) onward support eSIM; models sold in the United States from the iPhone 14 series onward are eSIM-only with no physical SIM slot. These devices can store eight or more eSIM profiles and run two lines simultaneously (either two eSIMs or one eSIM and one physical SIM on older models).
Only Wi-Fi + Cellular iPads support eSIM—Wi-Fi-only models do not have cellular hardware. iPad Pro (3rd generation and later), iPad Air (3rd generation and later), iPad (7th generation and later), and iPad mini (5th generation and later) all support eSIM if they're the cellular versions.
On the Android side, Google Pixel phones from the Pixel 3 onward, Samsung Galaxy flagships from the S20 and Note 20 series, Galaxy Z Fold and Flip devices from the 3 series, and many mid-range Galaxy A-series phones support eSIM. Motorola's Razr (2019 and later) and Edge series, OnePlus devices from the 11 series, and select Oppo and Xiaomi flagships also include eSIM. TCL phones—a common question—are generally budget models and do not support eSIM as of the latest releases; check device eSIM compatibility for your specific model.
Most Android phones store one or two eSIM profiles and allow one active eSIM at a time alongside a physical SIM (dual SIM). Samsung flagships and Google Pixels can store multiple profiles but typically activate only one eSIM and one physical SIM simultaneously.
Common mistakes and how to avoid them
One frequent error is erasing the old phone before confirming the eSIM works on the new device. Always make a test call, send a text, and verify mobile data on the new phone before wiping or trading in the old one. If the transfer fails after the old phone is reset, you'll need to contact carrier support and verify your identity to get a replacement QR code, which can take 15 minutes to an hour depending on the carrier's process.
Another mistake is assuming all eSIMs transfer the same way. Carrier eSIMs (postpaid plans from T-Mobile, AT&T, Verizon, or prepaid services like Visible and Mint Mobile) may support Quick Transfer or require a new QR, while travel eSIM plans almost always reinstall via the provider's app rather than through carrier tools. Check the provider's support documentation or app before starting the transfer.
Finally, some users forget to turn on data roaming for a travel eSIM after installation. The travel eSIM needs data roaming enabled to connect to partner networks abroad, but this won't cause unexpected charges because the data comes from the travel eSIM's plan, not your home carrier. If mobile data doesn't work after installing a travel eSIM, go to Settings > Cellular (or Mobile Data on Android), select the travel eSIM line, and toggle Data Roaming on.
Frequently asked questions
Why is eSIM not transferable?
How can I transfer an eSIM to a new device?
How to shift eSIM from one iPhone to another?
Are TCL phones eSIM compatible?
Can I transfer an eSIM without the old phone?
Do I need to contact my carrier to transfer an eSIM?
Will my travel eSIM transfer to a new phone automatically?
Can I use two eSIMs at the same time on one phone?
Ready to get connected?
Browse instant eSIM plans for 190+ destinations — installed before you land.

Written by
Samir Ch
I road-test travel eSIMs across the destinations we cover, so the advice here is field-checked — not copied off a spec sheet.
Continue reading
How Much Data You'll Need for a Europe Trip: A Practical Guide
How much data do i need for europe: Planning a Europe trip? Learn realistic data estimates by activity and trip length, plus why a travel eSIM beats
What Is an SM-DP+ Address? Manual eSIM Installation Guide
Learn what an SM-DP+ address is, when you need it for manual eSIM setup, and the exact steps to enter eSIM activation codes on iPhone and Android devices.
How to Set Up and Activate Your eSIM: Step-by-Step Guide
Learn how to set up an eSIM on iPhone and Android with step-by-step QR scan and manual activation instructions, plus what to do before you fly.
How Many eSIMs Can I Use on My iPhone?
How many eSIMs can an iPhone have? Store 8+ and use 2 at once. Full breakdown by model, plus how to add, label and switch between lines.