 WhatsApp +44 7367 063273
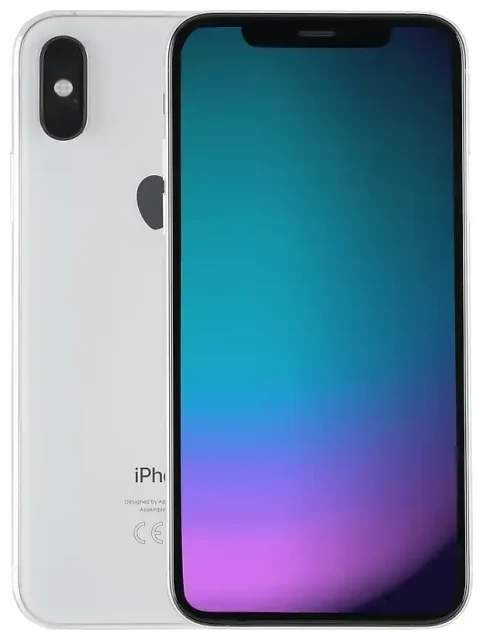
Does the Apple iPhone Xs support eSIM?
Yes, the Apple iPhone Xs supports eSIM. Apple introduced eSIM compatibility with the iPhone Xs, iPhone Xs Max, and iPhone XR in 2018, marking the first generation of iPhones to offer this technology.
Apple iPhone Xs eSIM compatibility
All Apple iPhone Xs models support eSIM, regardless of where you purchased the device. This includes units sold in the United States, Europe, Asia, and other regions worldwide. The eSIM functionality works on both the standard iPhone Xs and the larger iPhone Xs Max.
Dual SIM: eSIM plus physical SIM
The Apple iPhone Xs uses a dual SIM configuration that combines one eSIM with one physical nano-SIM card. You can have two active phone numbers simultaneously—one on the eSIM and one on the physical SIM slot. This setup is useful if you want to separate work and personal lines, or keep your home number active while using a local data plan when traveling.
The iPhone Xs does not support dual eSIM operation. You must use one eSIM alongside the physical nano-SIM. Later iPhone models (iPhone 13 and newer in most regions) added dual eSIM capability, but the iPhone Xs is limited to one eSIM profile active at a time, plus the physical card.
How to set up an eSIM on the Apple iPhone Xs
Setting up an eSIM on your Apple iPhone Xs takes about a minute once you have your QR code from your carrier or eSIM provider. Make sure you're connected to Wi-Fi before you start.
Set up an eSIM in Settings
- Open Settings and tap Cellular (or Mobile Data in some regions).
- Tap Add Cellular Plan.
- Use your camera to scan the QR code provided by your carrier or eSIM provider. The QR code contains the activation details.
- Wait while your iPhone activates the eSIM—this usually takes 30 to 60 seconds.
- Once activated, label your lines so you can tell them apart. Tap Cellular again, then tap each line and choose a label like "Primary," "Travel," "Work," or create a custom label.
- Choose which line you want to use for cellular data by default in Settings > Cellular > Cellular Data.
- Set your default line for voice calls in Settings > Cellular > Default Voice Line.
If your provider offers app-based eSIM installation or manual entry instead of a QR code, follow their specific instructions. Some providers let you enter activation details manually under Enter Details Manually in step 3.
How to activate eSIM on iPhone using a QR code
The QR code method is the most common way to activate an eSIM on the iPhone Xs. Your eSIM provider (whether T-Mobile, AT&T, Verizon, or a travel eSIM service) will send you the QR code via email or display it in their app or website dashboard. Simply scan it with your iPhone's camera through the Settings menu, and the device handles the rest automatically.
Using a travel eSIM on the Apple iPhone Xs
A travel eSIM gives you mobile data in another country without paying international roaming fees on your home carrier. Instead of hunting for a physical SIM card at the airport or dealing with roaming charges, you install a data eSIM before you leave.
Install your travel eSIM before you fly
Purchase and install your travel eSIM while you're still at home and connected to Wi-Fi. The eSIM sits dormant on your iPhone Xs until you land and turn it on. Once you arrive, switch your cellular data to the travel eSIM line in Settings, and you'll have local data rates without swapping your physical SIM card.
Your home phone number stays active on the physical nano-SIM for calls and texts, while the eSIM handles data. You can browse eSIM plans for your destination and install them in minutes—no need to remove your existing SIM or visit a store abroad.
How eSIM works for iPhone travelers
When you travel with an eSIM on your Apple iPhone Xs, you maintain access to both your home number and affordable local data. The dual SIM setup means you won't miss calls or two-factor authentication texts on your primary number, and you won't face surprise roaming bills for checking maps or messaging apps. Many travelers on Reddit note that eSIMs simplified their connectivity compared to carrying multiple physical SIM cards or paying carrier roaming fees.
Tips and troubleshooting
Turn on data roaming for your eSIM line
Even though you're using a local eSIM, you still need to enable data roaming for that line on your iPhone Xs. Go to Settings > Cellular, tap your eSIM line, and toggle Data Roaming on. This won't trigger roaming charges on your home SIM because you're selecting data roaming only for the travel eSIM, which is designed for that region.
Keep your home SIM active for calls and texts
Leave your physical home SIM in the phone and set it as your default voice line. This way, people can still reach you at your regular number, and you'll receive verification codes for banking apps or two-factor authentication. Just make sure cellular data is assigned to your eSIM line to avoid using your home carrier's data.
Fix an eSIM that won't activate
If your eSIM won't scan or activate, check that you're connected to Wi-Fi—eSIM activation requires an internet connection. Make sure the QR code is clear and well-lit; if it won't scan, look for a manual entry option or contact your provider for a new QR code. Restart your iPhone Xs if the activation stalls. If you're still stuck, you can get eSIM setup help or check another device's eSIM compatibility if you're considering switching phones.
How to convert physical SIM to eSIM on iPhone Xs
Many carriers, including T-Mobile, AT&T, and Verizon, let you convert your existing physical SIM to an eSIM. Contact your carrier through their app, website, or customer service and request an eSIM transfer. They'll provide a QR code or send the eSIM profile directly to your iPhone Xs. Once you activate the eSIM version of your plan, your old physical SIM card will stop working, freeing up the SIM slot for a second line if you want.


